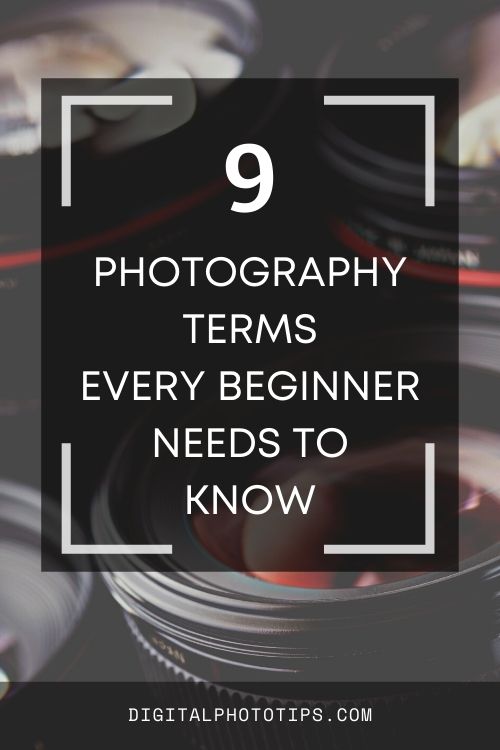
9 Photography Terms Every Beginner Needs To Know
If you have only taken a few photos, chances are you don’t know many of the essential terms in photography.
Although it might seem overwhelming to learn the technicalities of photography, you will be able to improve your skills as a photographer by learning the terminology and putting what you have learned into practice.
This list contains a few terms that will help you in your quest to understand photography. Some terms are simple, while others can be more complicated. This is not a complete list of photography terms but it can still be useful as a resource that you can use over and over as your skills and experience grow.

1. Aperture
The aperture controls the brightness of an image as it passes through the lens and falls onto the sensor. It is expressed as an “f-number” (written as “f/”, followed by a number), such that f/1.4 or f/2.8,/f4,/5.6,/f/8,/f/11,/22,/32.
The f-number can be changed to change the aperture size and the amount of light that passes through it. The smaller the aperture, the less light passes through it. The lower the number, the bigger the aperture will be and the more light that will pass through it.
Changing the aperture also controls the ‘Depth of Field’. The wider the aperture, the shallower the depth of field. Therefore, the smaller the aperture, the deeper the depth of field.
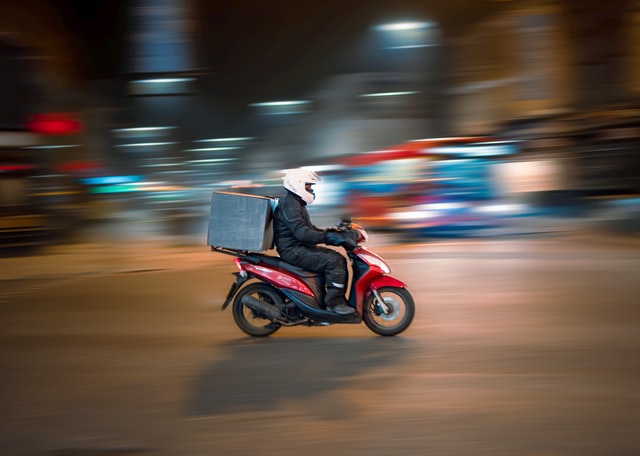
2. Shutter Speed
Shutter speed is a measurement of the time the shutter is open, shown in seconds or fractions of a second: 1 s, 1/2 s, 1/4 s, 1/250 s, 1/ 500 s, etc.
Slower (longer) shutter speeds allow more light, while faster (shorter) shutter speeds allow less light into the camera.
Changing shutter speed can create dramatic effects, like motion blur (long shuttter) or motion freeze (short shutter).
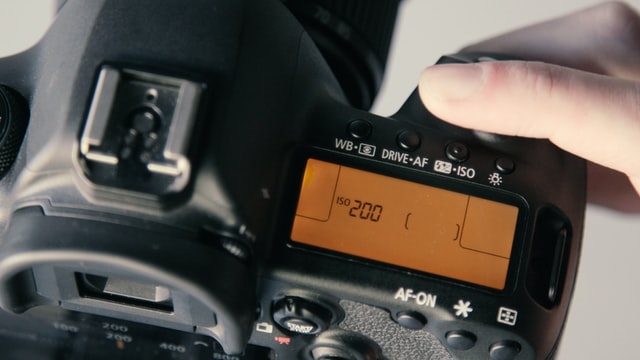
3. ISO
ISO refers to your camera’s sensitivity to light. The higher the ISO, the brighter your photo, as the more sensitive your camera sensor becomes.
ISO is measured in numbers, for example 100, 200, 400, 800, 1600, 3200.
Increasing the ISO can be extremely useful in low light conditions but using a higher ISO can create grain or noise in your photo.
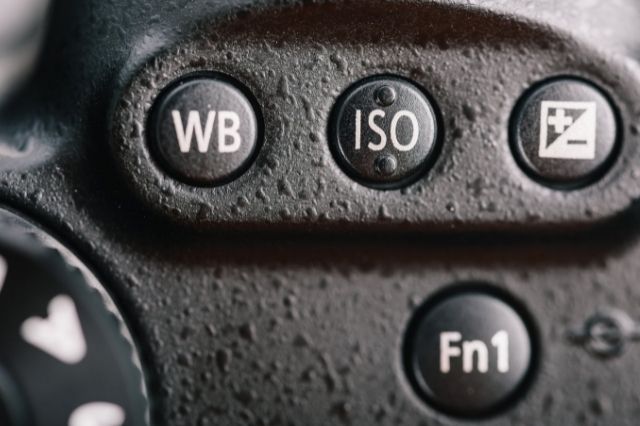
4. White Balance
White balance (WB) is a setting on your camera that balances the color temperature in your image so that white still appears white and is not affected by the color temperature of the light source.
On most digital cameras you will have the option to choose from various white balances. For example, Tungsten, this white balance setting is to be used when shooting indoors with incandescent lights. Tungsten lighting gives off a warm light, so this white balance cools the colors by adding some blue, or Cloudy, the ideal white balance setting when shooting outdoors on overcast days.
You can choose to shoot on the Auto White Balance setting, in which your camera automatically reads the scene and adjusts the white balance for you. This is a popular choice but it’s not always accurate.
5. Exposure
Exposure is the amount light that reaches your camera sensor. This is an important part of how bright or how dark your photos appear.
It is important to balance the right exposure. Overexposure can lead to faded images and highlights that are too bright and images that are underexposed can be difficult to see.
Shutter speed and aperture are the two settings that can affect “luminous exposure” in an image. ISO is the third setting that affects brightness in your photos.
You can also adjust the exposure of a photo using post-processing software such as Photoshop.

6. Aspect Ratio
The aspect ratio is the ratio of an image’s height to its width. An example of an aspect ratio is 8×10, which is 8×10 by 10 inches.
However, aspect ratio does not only refer to printed images. The aspect ratio can be set in the camera. This can be useful if you need to a particular size photo. Or you can crop the image post-processing to get the size you desire.
7. File Format
File format refers to how the images you take will be recorded.
Predominantly, you can choose between JPG format or RAW format on most digital cameras.
JPGs are compressed which means that they are smaller in size and can easily be shared via email and social media. Problem is that some of the data in the image file is lost during compression, making it more difficult to edit JPG images.
RAW files on the other side are not compressed and retain all data from the imaging sensor.
This is great for editing photos but RAW files can be very large and difficult to share because they are often proprietary formats that are only available to a particular camera manufacturer.
JPGs work well for quick photos to share on social networks but if you need to edit photos or have prints made, RAW files will work best.
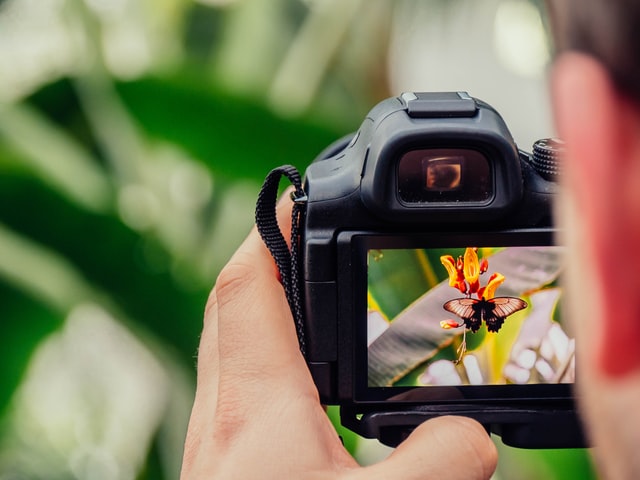
8. Composition
Composition refers to how the elements inside the frame are positioned and how they relate to each other.
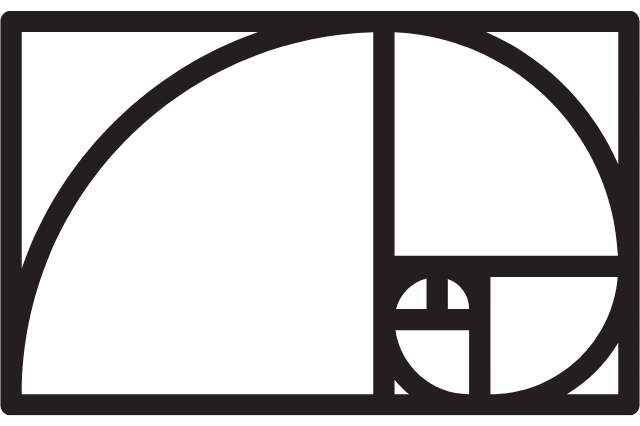
There are many composition techniques you can use as guidelines when composing your image, a few examples you should learn:
- Rule of Thirds
- Symmetrical Balance
- Leading Lines
- Negative Space
- The Golden Ratio
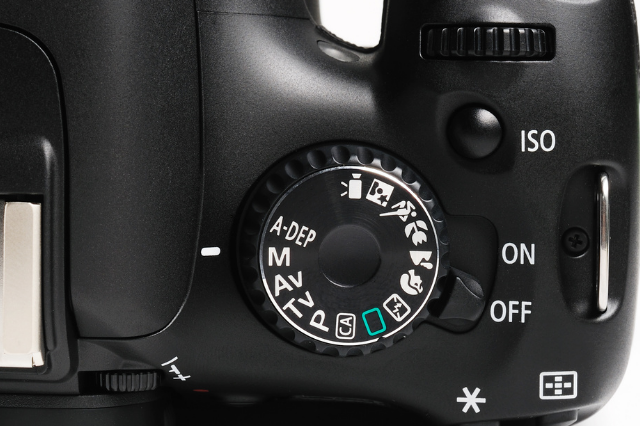
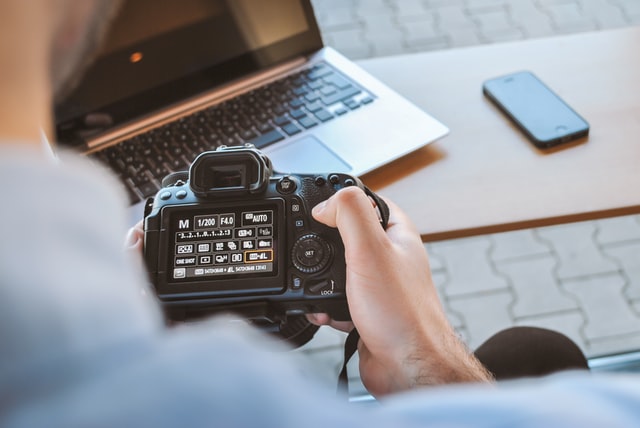
9. Camera Modes
Your digital camera will have a selection of modes, these are pre-programmed settings that can be very helpful to new photographers but the aim is to master shooting in Manual mode.
Some of the main camera modes are:
- Auto – Camera automatically sets all camera settings.
- Program (P) – Camera automatically sets aperture and shutter speed, and the photographer can choose from different combinations of aperture and shutter speed.
- Shutter Priority (Tv) or (S) – Camera automatically sets aperture, and the photographer can adjust shutter speed.
- Aperture Priority (Av) or (A) – Camera automatically sets shutter speed, and the photographer can adjust aperture.
- Manual (M) – The photographer controls all the camera settings.